More work completed on the chicken coop.
These photos were taken just after I finished all the hen house siding and wire (1/2" hardware cloth). We brought out some of the chickens to let them play outside for a while. Since there still wasn't a door I temporarily attached the lid from the brooder.


One week later - I finished the chicken run door, hen house door, nest box, and pop door. The chickens are in these pictures too, but are not living there yet. It's not quite finished and not ready for them to move in. So we let them out to play for a few hours each day.


The nest box lid opens up for easy access to collect the eggs.
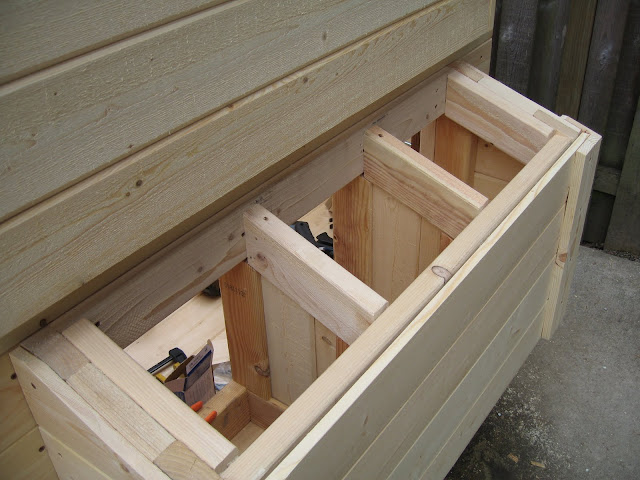
The side opens down to make for easy clean-out.
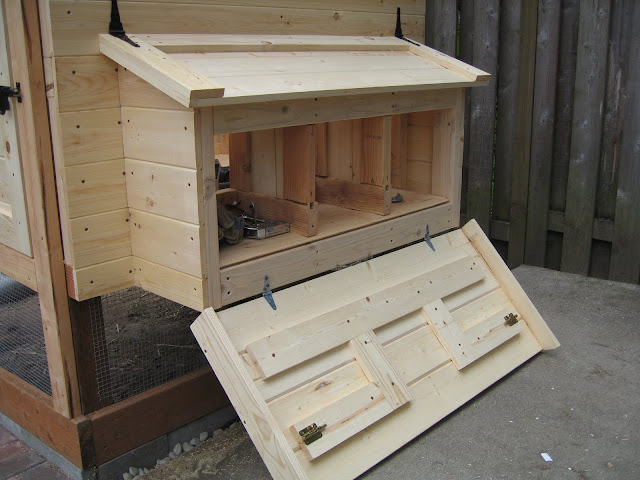
The hen house.


I do plan to clean up the tool clutter before the girls move in.

The pop door has a sliding panel. I'll attach a rope that will allow us to lift and secure it from outside the coop. I plan to have it motorized and automated some day, but manual will work for now. The upper-left opening is for the webcam.

A removable panel at the hen house door to hold back the bedding but still give us easy access to clean out the floor.

Some of the girls, out and about.

The last bit of work before the hens can move in is:
- Finish the trim
- Build ramp
- Stain
- Install windows
- Install roosts
Once they move in I can then :
- Install electrical (lights, etc)
- Install webcam

Go on to Part 3 - Complete
Part 4 - Update